Homemade Outdoor Boys Bread Recipe
This Homemade Outdoor Boys Bread Recipe is a simple rustic bread made with basic pantry ingredients like flour, yeast, water, and salt. Inspired by outdoor boys cooking, this easy outdoor bread recipe creates a soft, fluffy inside with a lightly crisp crust, making it perfect for camping, skillet cooking, or a cozy homemade bread served with butter, honey, or soup.
Ingredients
Equipment
Method
Mix the Dough
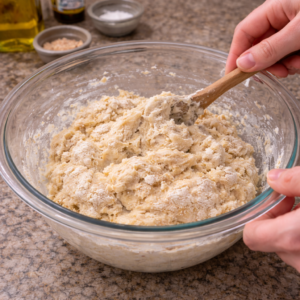
- I start by combining flour, yeast, sugar, and salt in a large bowl.

- Then I pour in warm water and olive oil.
- Using a spoon, I mix everything until it forms a soft, slightly sticky dough.
- At this stage it doesn’t need to look perfect. Rustic bread actually works better when it’s not overworked.
Knead Briefly
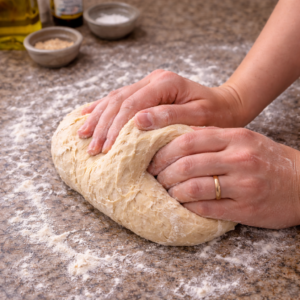
- I transfer the dough onto a lightly floured surface and knead for about 5 minutes.
- The dough should feel soft and elastic.
- The first time I made this bread, I skipped kneading entirely. The result was heavy and dense.
- Even a few minutes makes a big difference.
Let It Rise
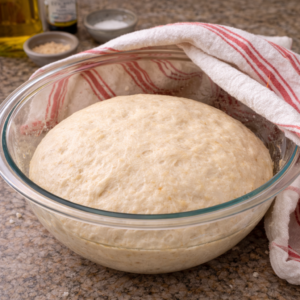
- I place the dough in a lightly oiled bowl and cover it with a kitchen towel.
- After about an hour, it usually doubles in size.
- The kitchen smells faintly yeasty at this stage, which is always a good sign.
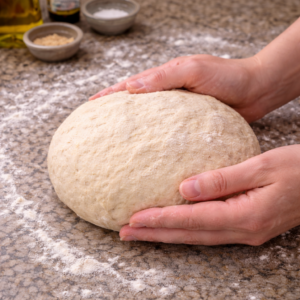
Shape the Bread
- Once the dough rises, I gently press it down and shape it into a round loaf.
- No complicated shaping needed.
- Rustic bread actually benefits from being simple.
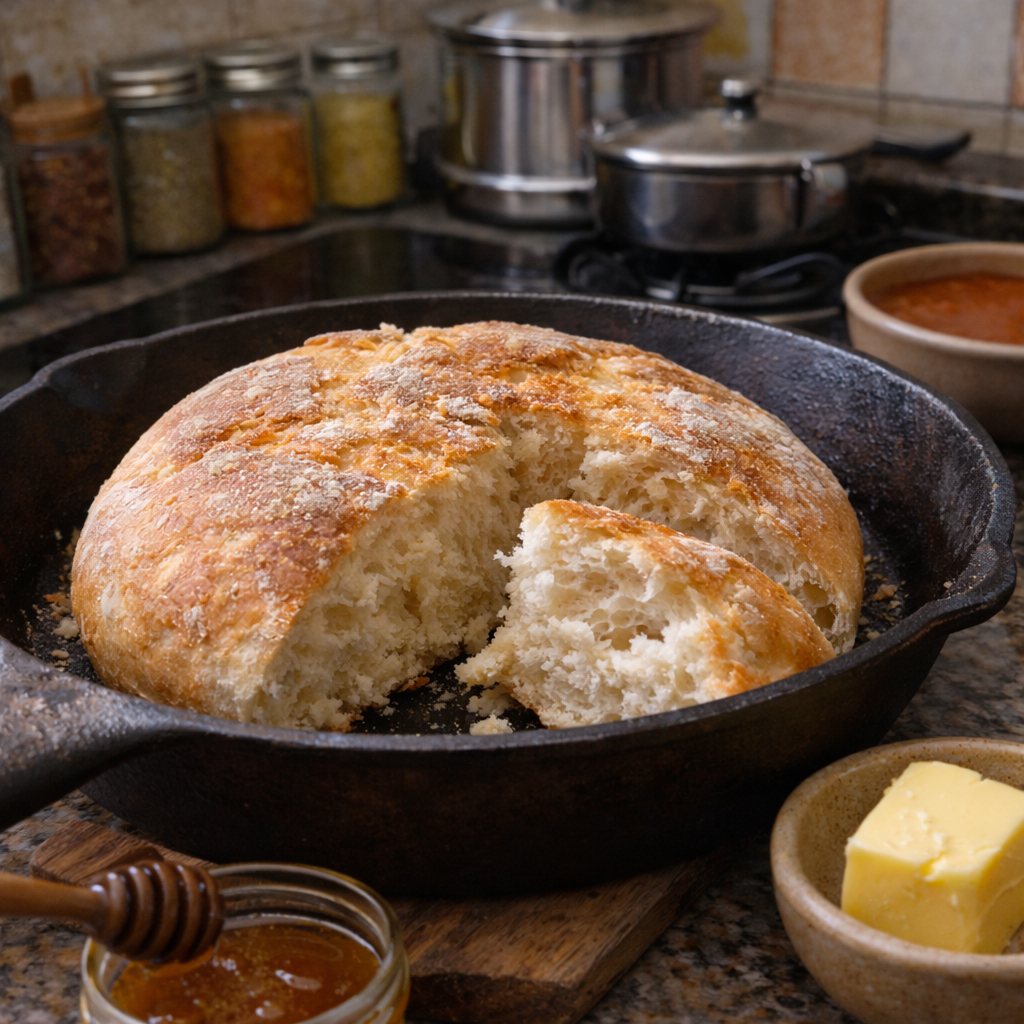
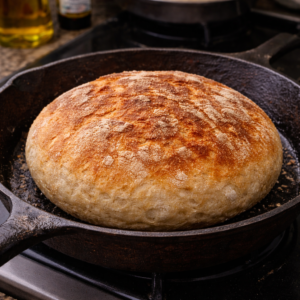
Cook the Bread
- For a home version of this easy outdoor bread recipe, I heat a cast iron skillet over medium heat.
- Then I place the dough inside and cover it.
- After about 12 minutes, I flip the loaf and cook the other side.
- The crust develops a beautiful golden color.
Notes
- Use warm, not hot water for yeast
- Let the dough fully double before cooking
- Cook on medium heat instead of high
- Cover the pan while cooking for better heat distribution
- These small adjustments make the bread much lighter.