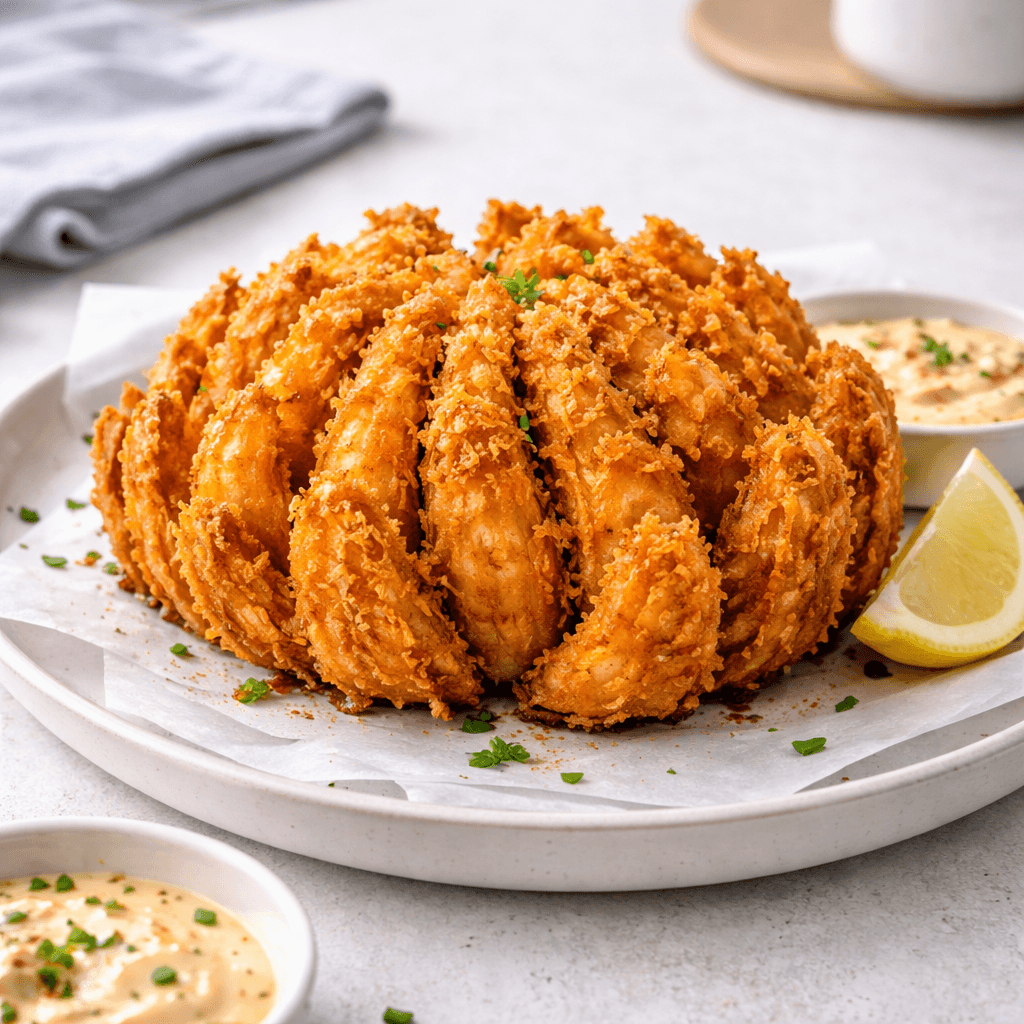

Texas Roadhouse Blooming Onion Recipe
A crispy, golden blooming onion that tastes just like the restaurant version.Crunchy outside, soft inside, and surprisingly doable at home.
Ingredients
Equipment
Method
1.Cutting the Onion (The Make-or-Break Step)
- Slice off the top (not the root)

- Place root side down
- Make vertical cuts (12–16 sections), but don’t cut through the root
- Gently spread the layers apart—this is where the “bloom” starts forming.

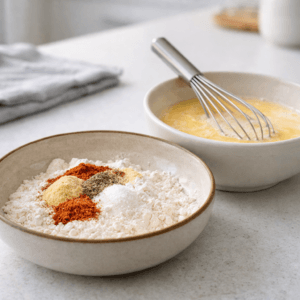
2.Prepare the Coating
- In one bowl:
- Flour
- Cornstarch
- All spices
- In another bowl:
- Eggs + milk (whisk well)
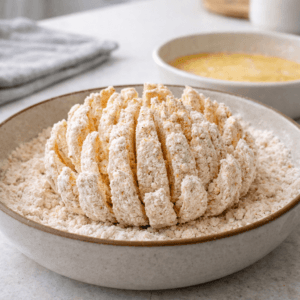
3.Coat Like a Pro
- First dip onion in dry flour mix (get inside layers)
- Then into egg mixture
- Back into flour again
- Press gently so coating sticks.
- Mistake I made: I rushed this step once. Result? Coating fell off during frying.
4.Heat the Oil Properly
- Medium-high heat (around 175–180°C)
- Oil should not be smoking
- If oil is too hot → burns outside
- Too cold → soggy coating
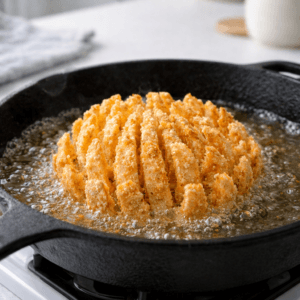
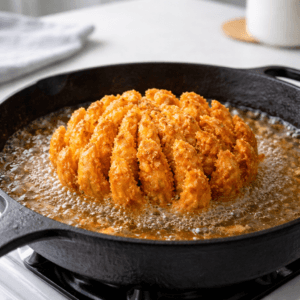
5.Frying (The Most Satisfying Part)
- Place onion face down first
- Fry for 3–4 minutes
- Flip carefully and fry another 3–4 minutes
- You’ll see it turn deep golden brown and crispy.
Notes
Serve immediately with chilled dipping sauce for best contrast.