
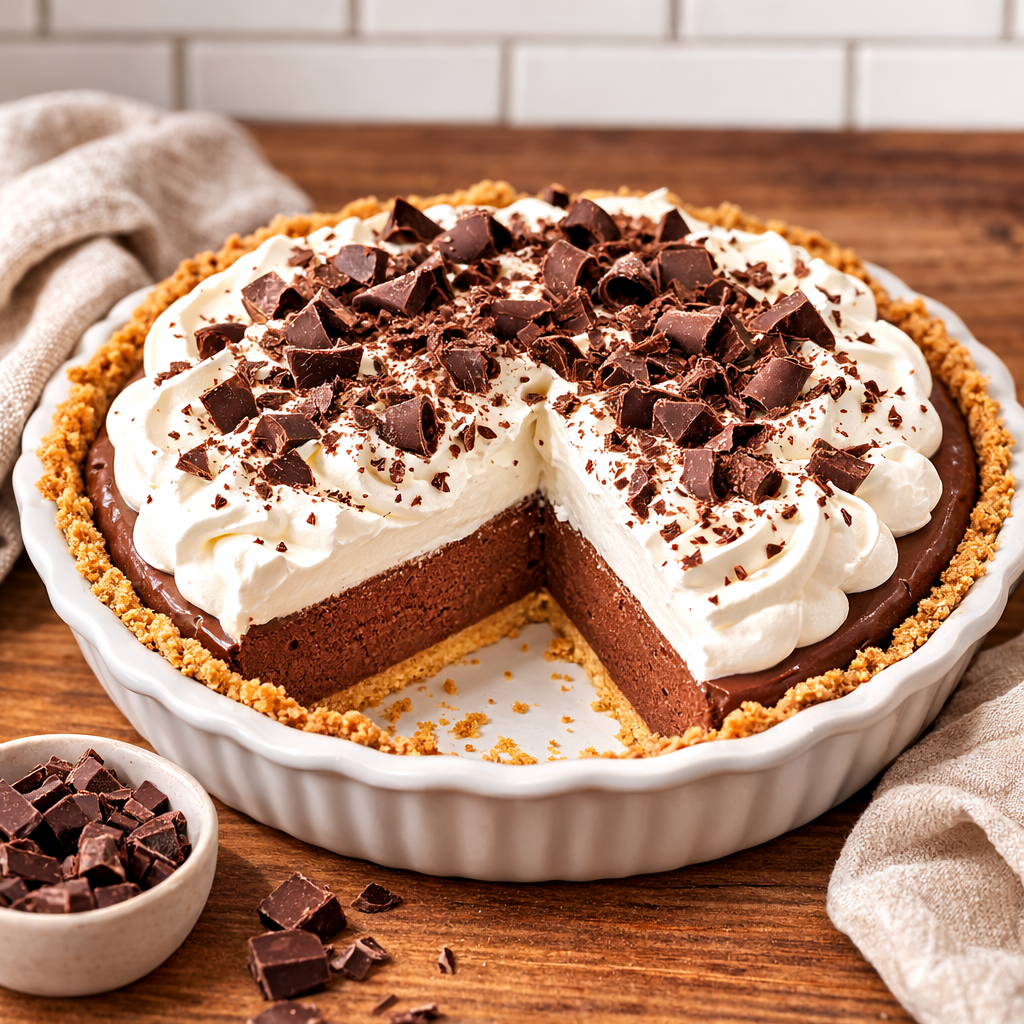
Ina Garten Chocolate Silk Pie
A rich and creamy Ina Garten Chocolate Silk Pie made with dark chocolate, butter, and whipped cream. Smooth, decadent, and easily the best ever chocolate pie for chocolate lovers.
Ingredients
Equipment
Method
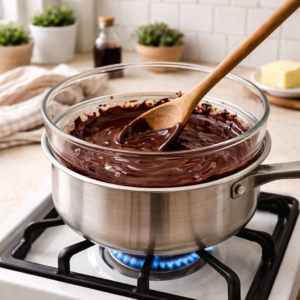
Step 1 – Melt the Chocolate Slowly
- I chop the dark chocolate and place it over a gentle double boiler.

- The key here is patience.
- The first time I rushed this step and the chocolate turned grainy. Now I melt it slowly, stirring until smooth and glossy.
- Once melted, I let it cool slightly so it doesn’t scramble the eggs later.
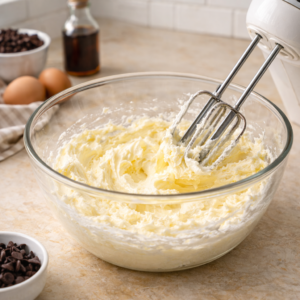
Step 2 – Cream Butter and Sugar
- In another bowl, I beat the softened butter and sugar together.
- After about 3–4 minutes, it becomes pale and fluffy.
- This step adds air into the filling and is one of the secrets behind that silky texture.
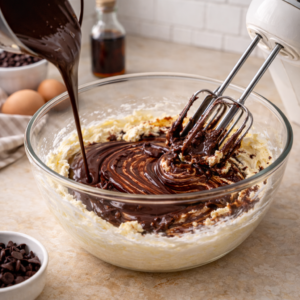
Step 3 – Blend in the Chocolate
- Now I slowly pour the melted chocolate into the butter mixture while mixing.
- The bowl instantly fills with the smell of rich cocoa — honestly one of my favorite kitchen moments.
- Then I add vanilla and salt.
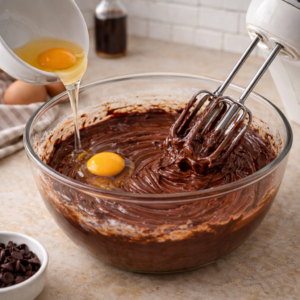
Step 4 – Add the Eggs Gradually
- This is where texture magic happens.
- I add one egg at a time and beat the mixture for about 3 minutes per egg.
- Yes, it sounds long.
- But this process helps emulsify everything and gives the filling that signature chocolate silk pie texture.
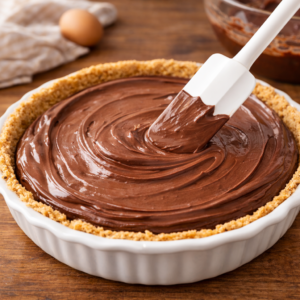
Step 5 – Fill the Pie Crust
- Once the mixture looks smooth and glossy, I spread it into the baked pie crust.
- At this point, the filling almost looks like chocolate frosting.
- I smooth the top with a spatula.
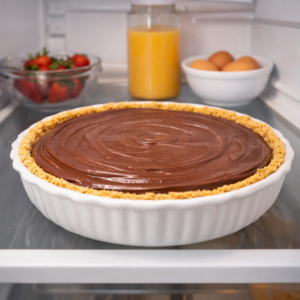
Step 6 – Chill Until Set
- The pie goes into the refrigerator for at least 4 hours.
- As it chills, the butter firms up and the filling transforms into that silky consistency.
- Waiting is honestly the hardest part.
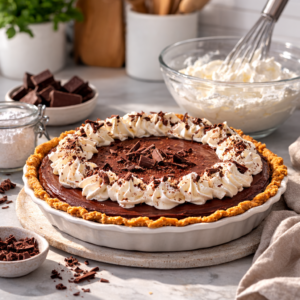
Step 7 – Make Fresh Whipped Cream
- Right before serving, I whip heavy cream with powdered sugar.
- I spread or pipe it over the pie.
- Sometimes I add chocolate shavings on top for extra flair.
Notes
- Use high-quality dark chocolate for the best flavor.
- Make sure eggs are room temperature so the filling blends smoothly.
- Beat the mixture long enough to achieve the signature silky chocolate texture.
- If concerned about raw eggs, you can use pasteurized eggs.