


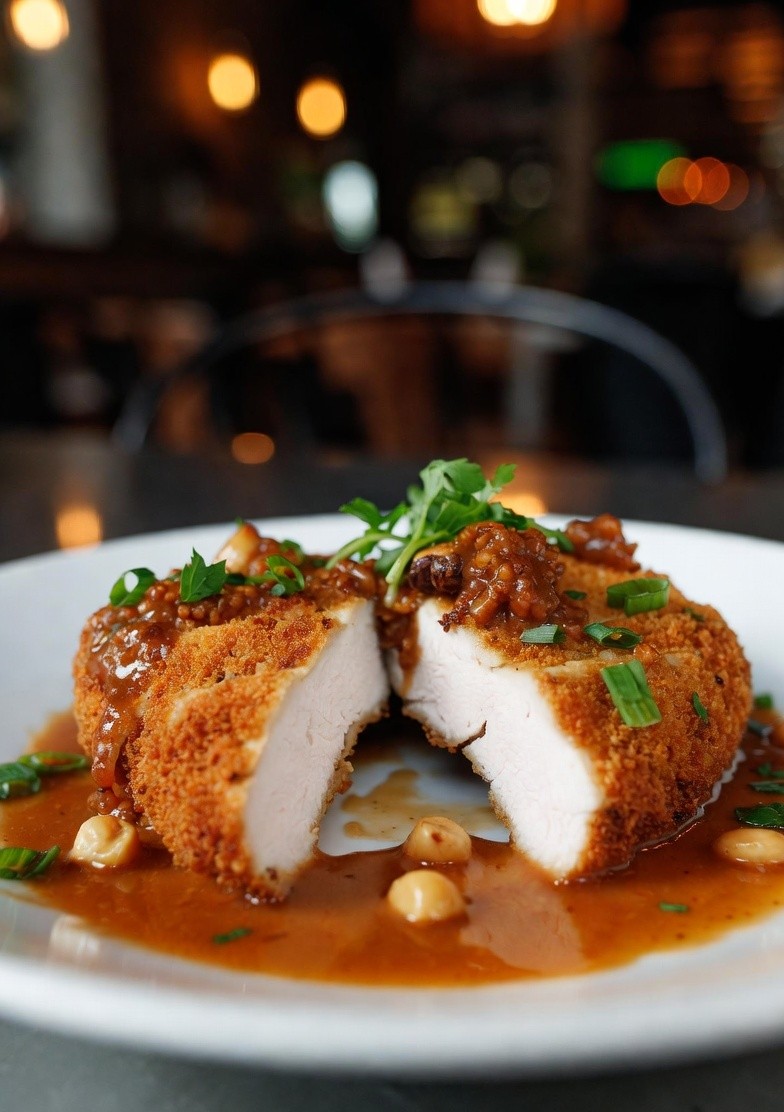
Kona Grill Macadamia Nut Chicken Recipe
The first time I tried making a Kona Grill Macadamia Nut Chicken Recipe at home, I focused too much on the coating and not enough on balance. The crust looked perfect—golden, crunchy—but the inside felt slightly dry, and the flavor didn’t have that rich, slightly sweet, nutty finish I remembered.